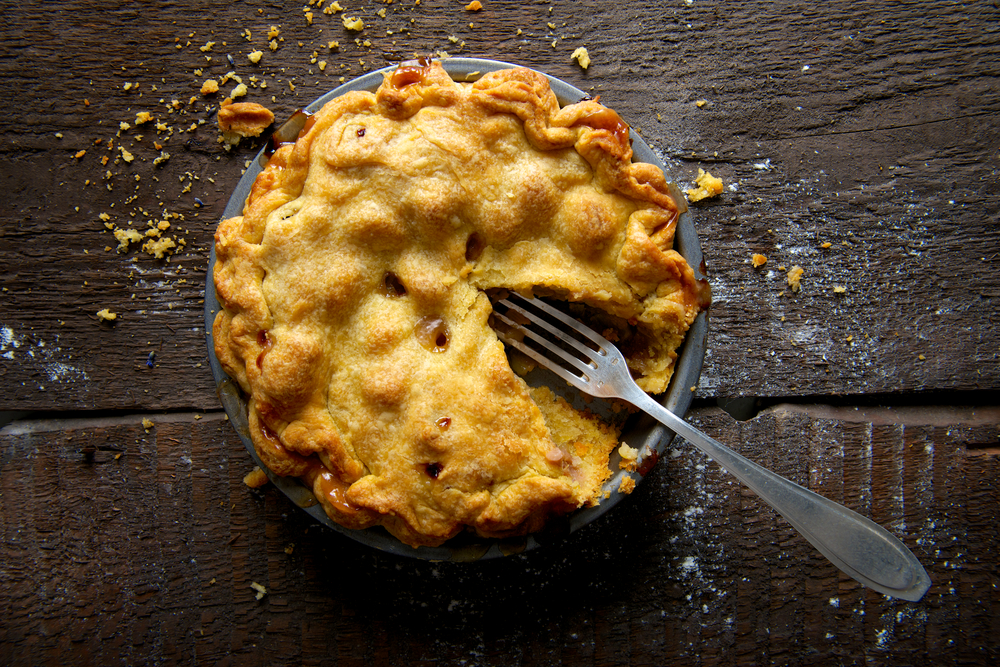
A flaky, tender, and golden pie crust is the hallmark of a truly exquisite pie. It forms the foundation for a myriad of sweet and savory fillings, creating an irresistibly mouthwatering culinary experience. But achieving the perfect pie crust is no small feat—it requires a blend of skill, patience, and practice. Fear not, for in this step-by-step guide, we shall unravel the secrets behind crafting the ultimate pie crust that will leave your guests craving for more.
- Choosing the Right Flour
The type of flour you choose plays a crucial role in determining the texture of your pie crust. All-purpose flour is the most common choice, as it offers a balance between protein content and tenderness. For a more delicate crust, consider using pastry flour or a blend of all-purpose and pastry flours. However, avoid bread flour, as its high protein content may result in a tough, chewy crust.
- Keeping Things Cold
Temperature is a key factor in pie crust success. Using cold ingredients and tools will help prevent the butter from melting too quickly, ensuring a flaky texture. Chill your butter, shortening, and even your mixing bowls and utensils before getting started. It is also advisable to work in a cool environment, away from any heat sources.
- Cutting in the Fat
Cutting in the fat is a crucial step in the pie crust-making process. The goal is to evenly distribute small pieces of fat throughout the flour. You can use a pastry cutter, a fork, or even your fingertips, but be careful not to overwork the dough or allow the fat to melt. You should aim for pea-sized pieces of butter or shortening distributed throughout the flour mixture. This will create pockets of fat that, when baked, will lead to the desired flaky layers.
- Adding the Liquid
Ice-cold water is the most commonly used liquid for pie crusts. The amount of water needed will vary based on factors such as the type of flour and the humidity in your kitchen. Add the water gradually, mixing gently with a fork or your fingertips, just until the dough comes together. Overworking the dough or adding too much water can cause the development of gluten, leading to a tough crust.
- Resting the Dough
Once the dough has come together, form it into a disk, wrap it tightly in plastic wrap, and refrigerate it for at least an hour, or preferably overnight. This resting period allows the gluten to relax and the fat to re-solidify, ensuring a tender, flaky crust.
- Rolling Out the Dough
When you’re ready to roll out your dough, let it sit at room temperature for a few minutes to soften slightly. Lightly flour your work surface, rolling pin, and the dough itself. Begin rolling from the center of the dough outwards, turning it frequently to ensure even thickness and prevent sticking. Aim for a thickness of about ⅛-inch, making sure the dough is large enough to cover your pie plate with some overhang.
- Transferring the Dough
Carefully transfer the rolled-out dough to your pie plate. Gently lift the edges and press the dough into the bottom and sides of the plate. Avoid stretching the dough, as this can cause it to shrink during baking. Trim the excess dough, leaving about ½-inch overhang, and tuck it under to create a neat edge.
- Decorating and Venting
For a decorative edge, you can use a fork to create a simple crimp or use your fingertips to form more intricate designs. If you’re making a double-crust pie, be sure to create vents in the top crust to allow steam to escape. You can create vents by making slits or decorative cut-outs, or by using a lattice pattern.
- Preparing for Baking
Before baking your pie, chill the prepared crust in the refrigerator for about 30 minutes to help prevent shrinkage. Additionally, consider using pie weights or dried beans to weigh down the bottom crust during the initial baking phase, especially for recipes that call for a pre-baked or partially baked crust. This will help maintain the shape and prevent the crust from puffing up.
- Baking the Pie
The baking temperature and time will depend on the type of pie you’re making. Generally, a higher temperature is used initially to set the crust, and then the temperature is lowered to allow the filling to cook through. For single-crust pies, pre-baking at 425°F (220°C) for 12-15 minutes with pie weights, followed by an additional 10-12 minutes without weights, should suffice. For double-crust pies, bake at 425°F (220°C) for the first 20 minutes, and then lower the temperature to 350°F (175°C) for the remaining baking time.
- The Golden Touch
For a beautifully golden and glossy crust, brush the top crust or edges with a simple egg wash. This can be made by whisking together one egg yolk and a tablespoon of water or milk. Apply the egg wash with a pastry brush just before baking, being careful not to let it pool in the vents or along the edges.
- Cooling and Serving
Once your pie is baked, allow it to cool on a wire rack for at least an hour before slicing. This will give the filling time to set and ensure clean, neat slices. Serve your pie at room temperature or slightly warm, accompanied by a dollop of whipped cream, a scoop of ice cream, or simply on its own, and let the praises for your perfect pie crust roll in.
By following these detailed steps and tips, you will soon master the art of creating the perfect pie crust. With practice, you will be able to effortlessly transform simple ingredients into a beautifully flaky, tender, and golden crust that will serve as the foundation for your favorite pie recipes. So, don your apron, gather your ingredients, and start your journey towards pie crust perfection!