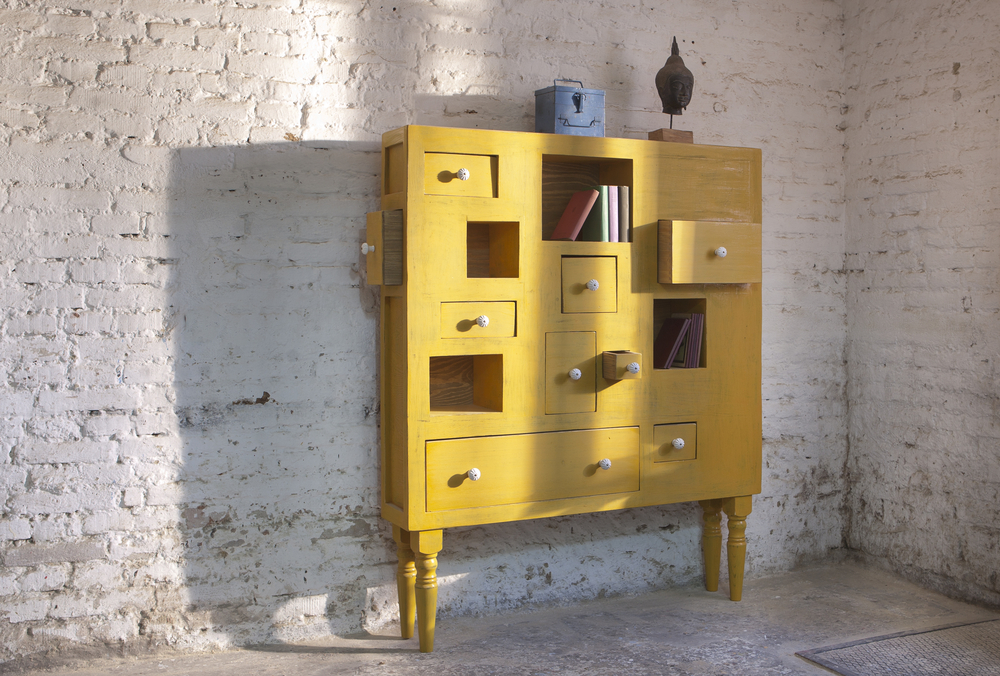
Is your old dresser collecting dust in a corner, or does it look out of place in your freshly renovated room? Don’t worry! You can give it a new lease on life with a touch of creativity and some elbow grease. Upcycling old furniture is not only a fantastic way to transform outdated pieces into stylish, functional items, but it’s also an eco-friendly alternative to buying new furniture. In this article, we will guide you through the process of upcycling your old dresser step by step, making it a statement piece that will dazzle friends and family alike.
Step 1: Assess the Condition
First, examine the dresser to identify any structural issues, such as loose joints or damaged wood. Repair these issues before moving on to the upcycling process. You might need to use wood glue, screws, or clamps to secure loose parts or replace damaged pieces. Also, remove any hardware, such as handles and knobs, and set them aside for future use.
Step 2: Clean and Sand
A thorough cleaning is crucial to ensure that your dresser is ready for its transformation. Use a mixture of warm water and mild detergent to clean the surface, removing any dirt, grime, or old paint. Once it’s clean, use sandpaper (starting with 80-grit and moving up to 220-grit) to remove any remaining paint, varnish, or uneven surfaces. Sanding also helps the new paint adhere better to the wood. Wipe the dresser down with a tack cloth to remove any dust from sanding.
Step 3: Prime
Apply a coat of primer to the dresser to create a smooth, even surface for the new paint. Choose a primer suitable for the type of paint you’ll be using. For example, if you’re using water-based paint, opt for a water-based primer. Allow the primer to dry according to the manufacturer’s instructions, typically 2-4 hours.
Step 4: Paint
Select a paint that complements your room’s color scheme and overall style. Chalk paint is an excellent choice for upcycling projects, as it adheres well to surfaces and provides a matte, vintage look. However, you can also use other types of paint, like latex or acrylic.
Apply at least two coats of paint, allowing each coat to dry for the recommended time before applying the next. For a smoother finish, lightly sand the dresser between coats using a fine-grit sandpaper (320-grit or higher). Once the final coat is dry, protect the surface with a clear sealant, such as wax or polyurethane, to keep the paint looking fresh and resistant to wear.
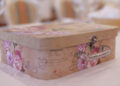
Step 5: Add Decorative Elements
Now comes the fun part! This is where your creativity can shine. Consider adding stencils, decals, or hand-painted designs to your dresser for a unique touch. You can also distress the edges using sandpaper or a paint scraper to create an aged, rustic appearance.
Step 6: Replace Hardware
Reattach the original hardware or install new handles and knobs to complete the transformation. The choice of hardware can dramatically impact the overall look, so consider the style you want to achieve. For a modern look, opt for sleek, metallic hardware. For a vintage or rustic appearance, go for antique or weathered handles.
Step 7: Final Touches
Finish your dresser by adding a protective felt or rubber pad to the bottom of each leg to prevent scratches on your floors. You may also want to line the drawers with a decorative liner or scented paper for a polished, personalized touch.
Conclusion
Upcycling your old dresser is not only a rewarding project, but it also breathes new life into a piece that might otherwise end up in a landfill. By following these steps and incorporating your unique style, you’ll create a stunning, one-of-a-kind piece that adds character to your space. Plus, you’ll be doing your part to promote sustainability and reduce waste. So, roll up your sleeves, unleash your creativity, and get ready to transform that old dresser into a functional work of art that you’ll be proud to display in your home.